
QR Code Testing Checklist Before You Print
Before printing a QR code, verify the decoded payload, inspect the unmodified artwork and quiet zone, proof it on the final material, and scan it across representative devices, distances, angles, and lighting.
The short answer
Before printing a QR code, verify the decoded payload, inspect the unmodified artwork and quiet zone, proof it on the final material, and scan it across representative devices, distances, angles, and lighting.
1. Validate the decoded payload, not the preview
Scan the source code and inspect exactly what the phone decoded before opening it. For a URL, check the scheme, spelling, path, query parameters, and redirect chain. Confirm the page is public, mobile-friendly, and served over HTTPS. For email, phone, SMS, Wi-Fi, or vCard data, verify every populated field and any special characters. A visually convincing QR code can still encode a typo perfectly.
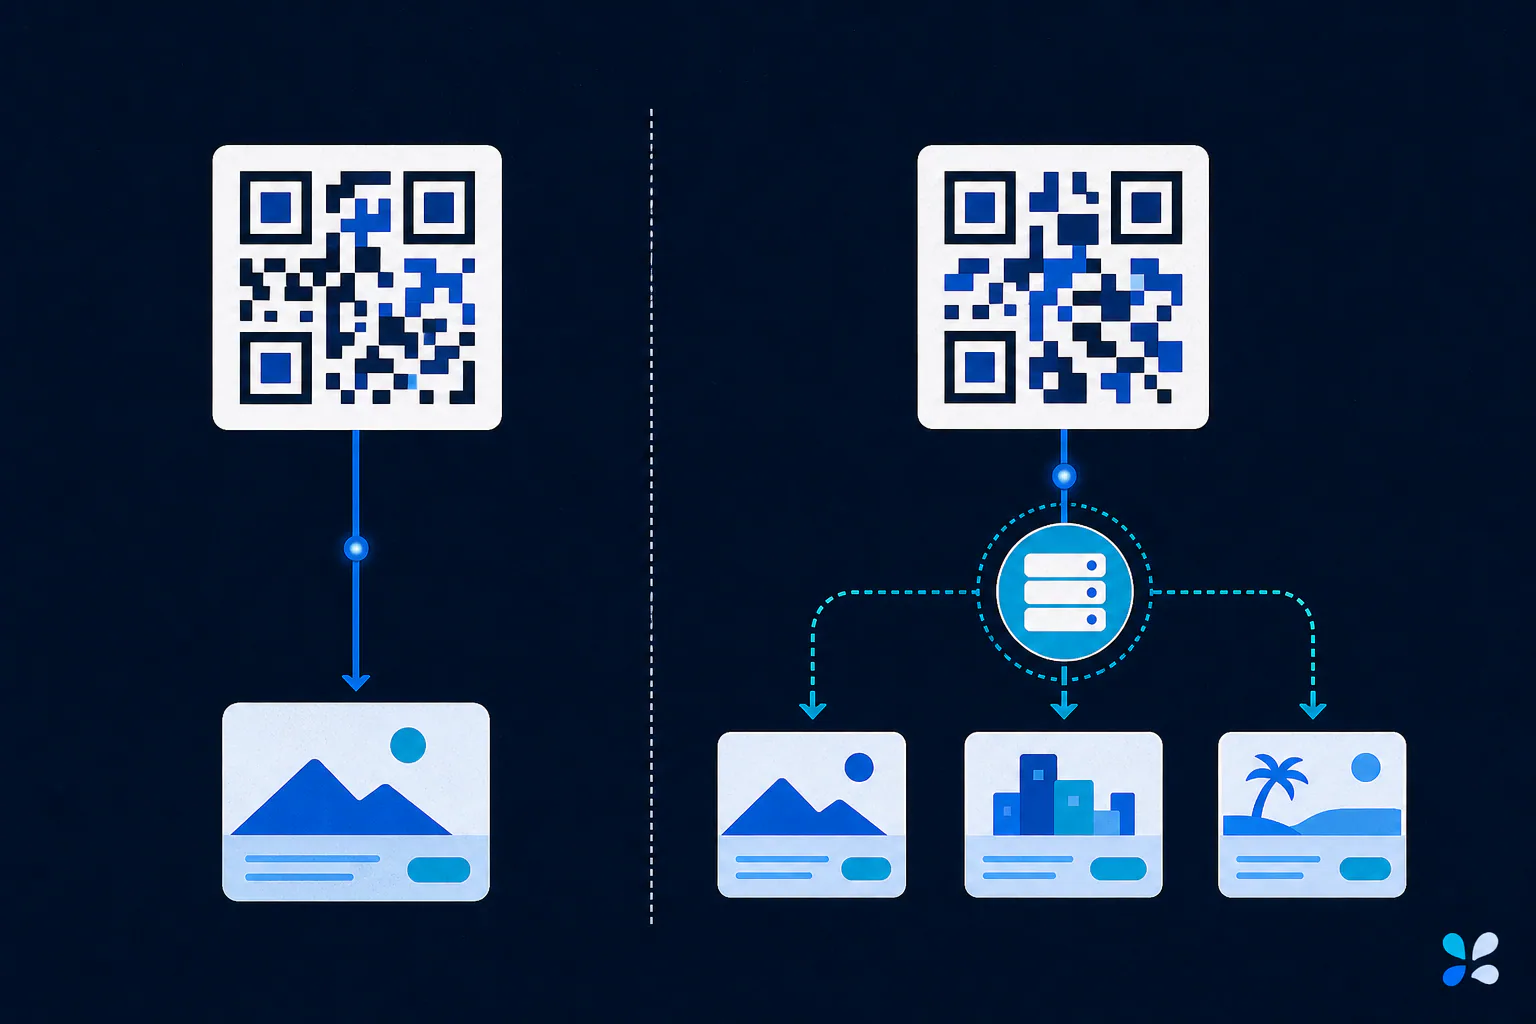
Test the destination in a private browsing session or while signed out so an existing login does not hide an access problem. If the code uses a dynamic redirect, record the account owner, redirect domain, billing dependency, and intended destination. If it is static, keep the original payload with the production files because the printed destination cannot be edited later.
2. Inspect artwork before it enters the layout
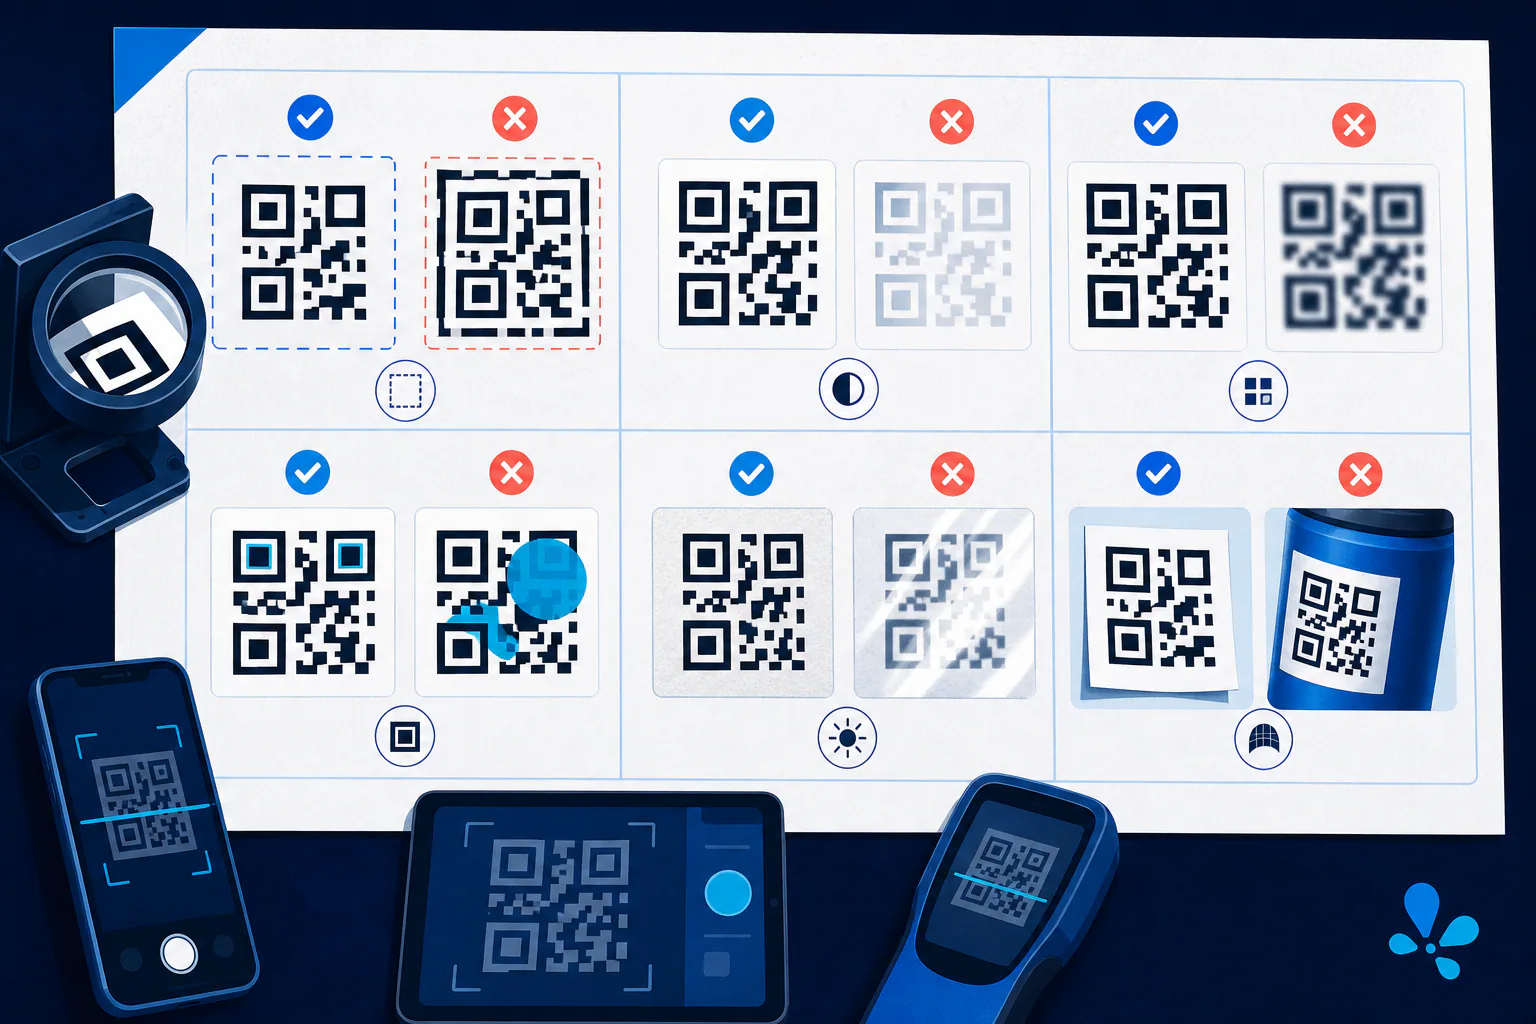
Confirm the code is square and has not been cropped, skewed, traced, blurred, or recompressed. Preserve the four-module quiet zone documented by DENSO Wave on every side. Use dark modules against a light solid background and keep text, borders, fold marks, and decorative elements outside that zone. Do not edit the finder patterns at three corners.
Check module density at the final size rather than judging only the outer dimensions. More payload data can create a denser symbol. Error correction can restore some damaged codewords, but higher correction also adds data and does not guarantee recovery from a logo, crease, glare, or poor print. If artwork has a logo or styling, retain an undecorated fallback and test both under the same conditions.
3. Proof the actual material and finishing
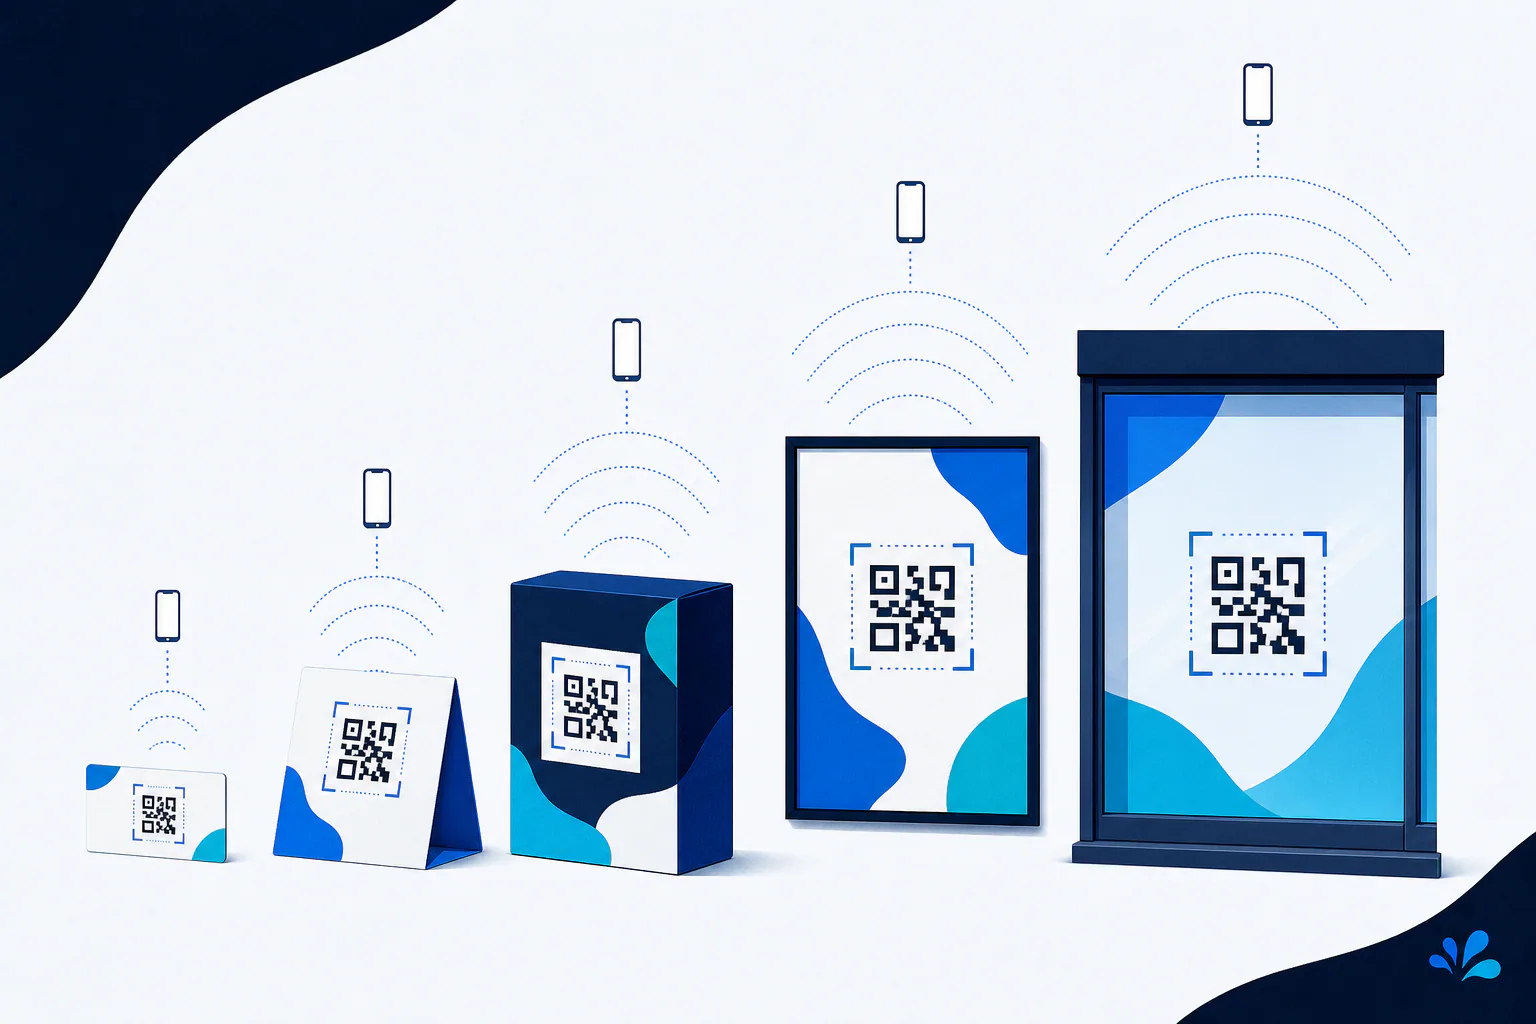
A laser-printer proof on white paper does not represent a curved bottle, corrugated carton, backlit display, glossy menu, foil pouch, fabric tag, or label placed over a seam. Produce a proof with the intended substrate, ink, coating, laminate, cutting, folding, and mounting position. Fill or assemble the package before testing so the code has its production curvature and tension.
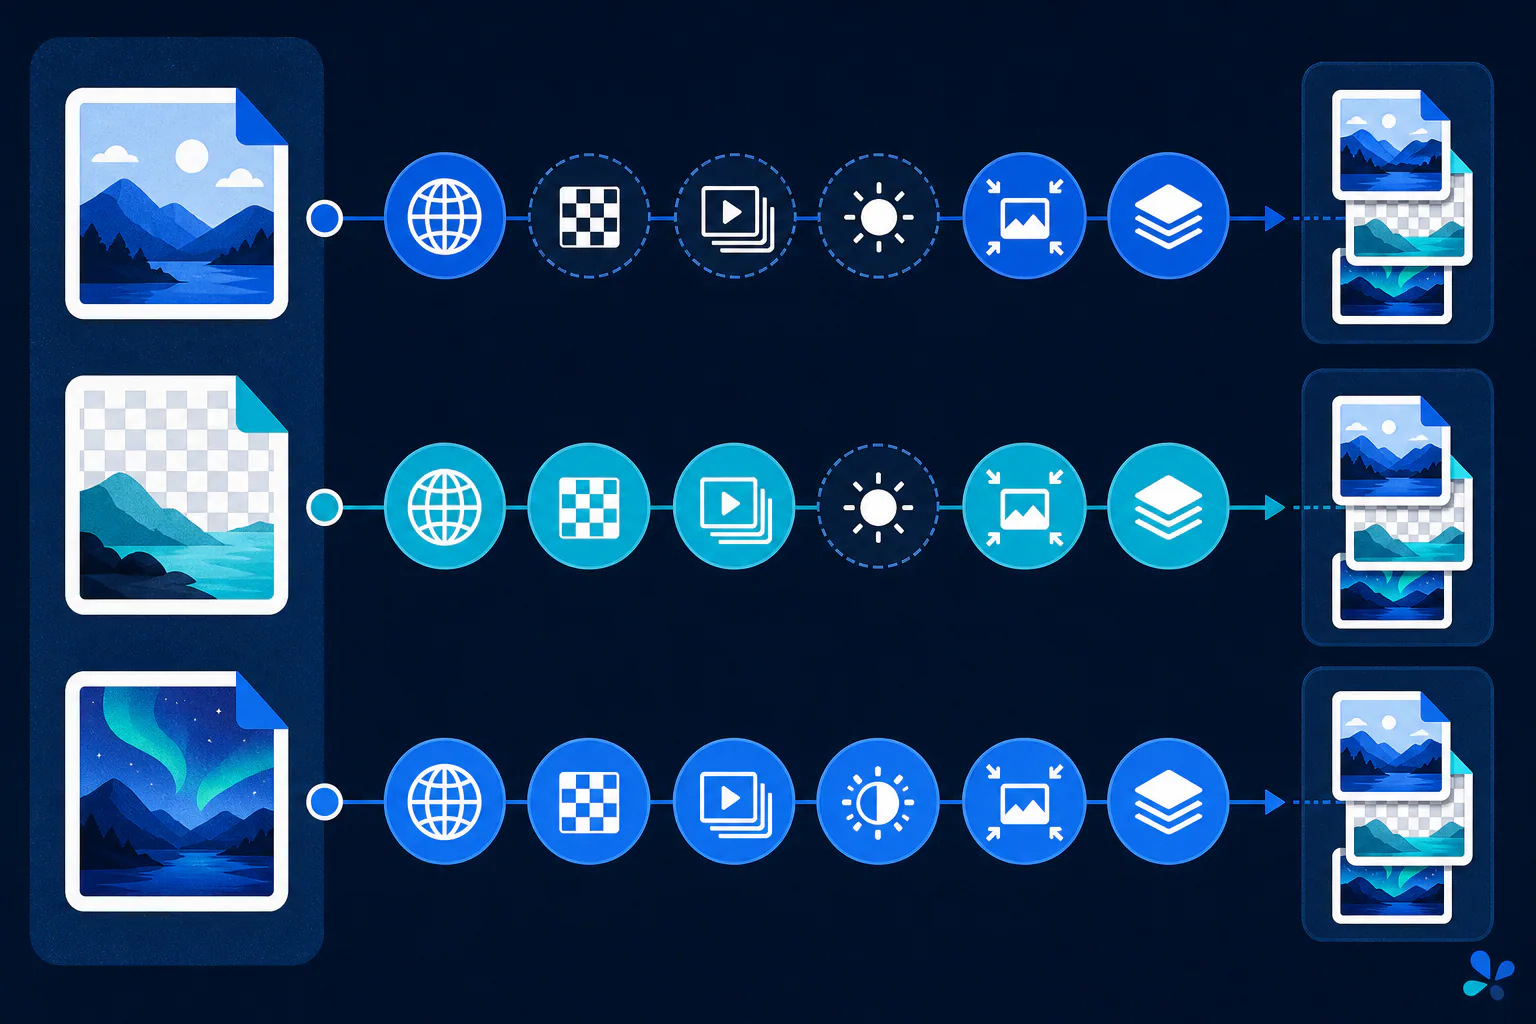
Look for ink spread that closes light gaps, fine modules that break apart, glare that masks finder patterns, and folds or trim that invade the quiet zone. On screens, check responsive sizing, pixel sharpness, brightness, overlays, and display sleep behavior. The output file format matters less than clean module edges at the final reproduction size; compare WebP, AVIF, and JPEG characteristics before choosing raster artwork for a web placement.
4. Run a device and environment test matrix
Use multiple representative iPhone and Android models rather than repeated scans on one phone. Test at the closest and farthest expected distances, straight on and at realistic angles, in bright and dim light, and with the code partially shadowed. Start each attempt from a normal user position instead of carefully centering the camera in advance. Record the device, condition, decoded value, time or hesitation, and failure mode.
This matrix is a recommended QA procedure, not a benchmark result or a promise of universal compatibility. Define acceptance criteria before testing—for example, the payload must decode correctly on every selected device under every normal-use condition. Fix failures by simplifying the payload, enlarging modules, restoring whitespace, improving contrast, or changing placement; do not merely repeat scans until one succeeds.
5. Re-scan the released artifact
Scan the printer's final proof and several finished pieces from the production run. Confirm the destination once more after deployment, then schedule checks for long-lived campaigns so expired domains, removed pages, or disabled redirect accounts are detected. Archive the approved artwork, decoded payload, destination owner, test matrix, and replacement plan. Release only the exact artifact that passed review.
Keep reading
Primary sources
- DENSO WAVE: Point for determining the code area
- DENSO WAVE: Error correction feature
- International Organization for Standardization: ISO/IEC 18004:2024 QR code symbology specification
Tool Swim is the organizational author and publisher of this guide. We cite primary specifications and platform documentation where they clarify behavior, and update the article when the guidance changes.