
QR Code Size Guide for Print, Packaging, and Screens
There is no single correct QR code size: size the individual modules for the payload density and viewing distance, preserve a four-module quiet zone, use strong contrast, and verify the final output on representative devices.

The short answer
There is no single correct QR code size: size the individual modules for the payload density and viewing distance, preserve a four-module quiet zone, use strong contrast, and verify the final output on representative devices.
Measure modules, not just the outer square
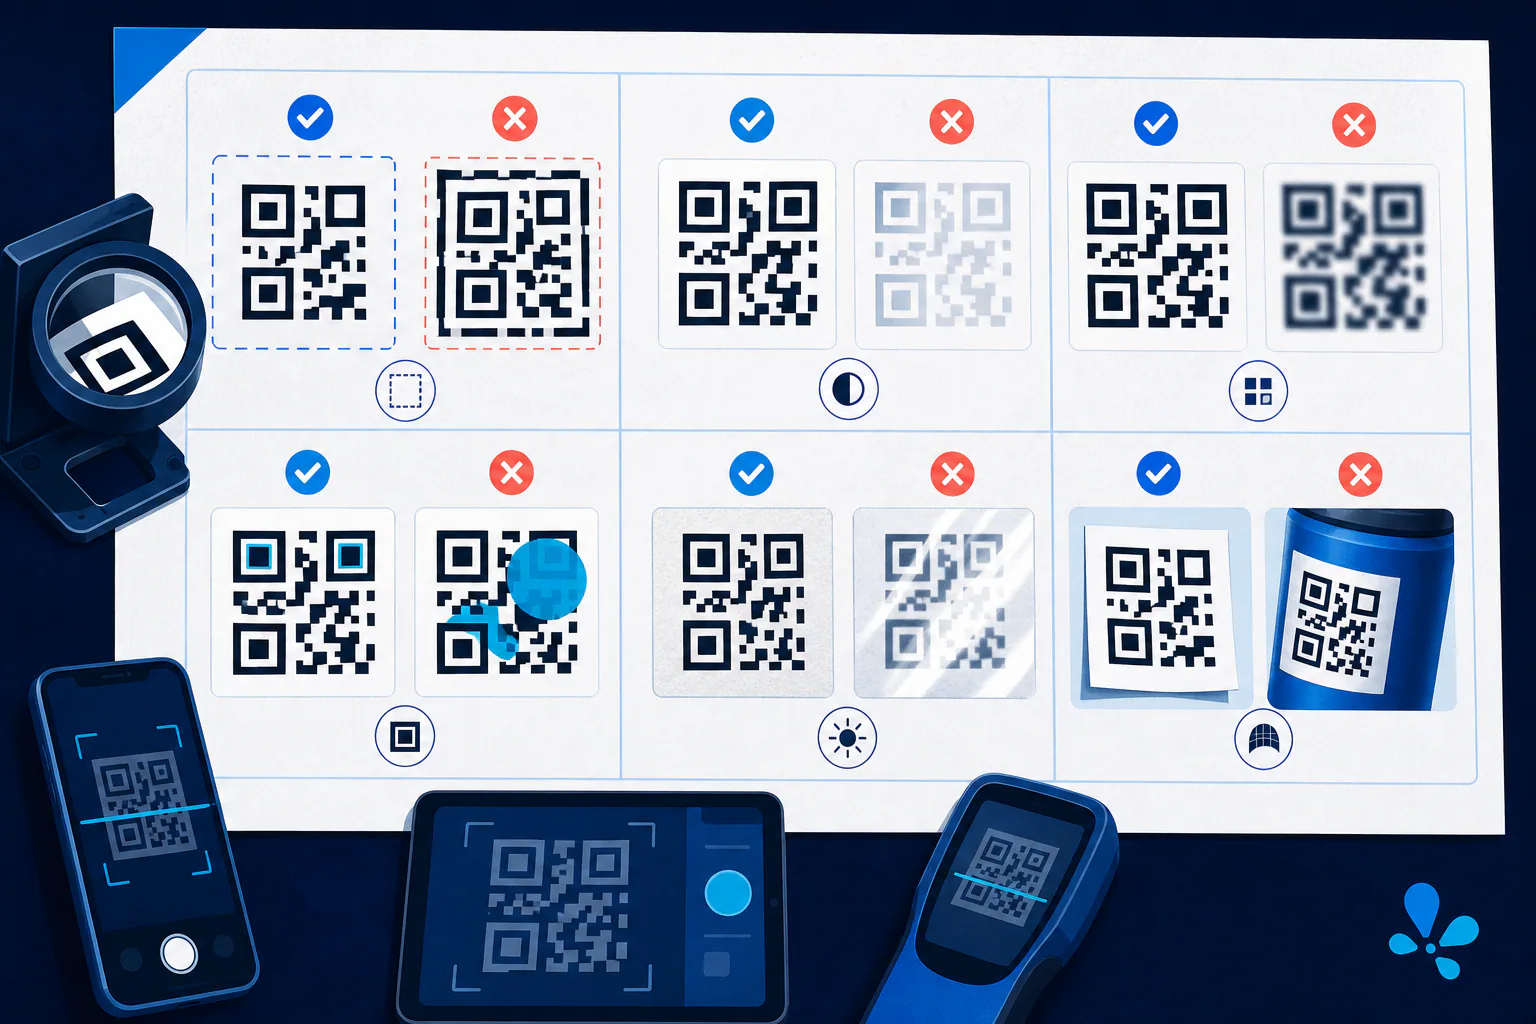
A QR code is a grid of dark and light modules. DENSO Wave defines 40 symbol versions: Version 1 is 21 by 21 modules, and each version adds four modules per side until Version 40 reaches 177 by 177. More data and stronger error correction can require a higher version. Two QR images with the same outer width can therefore have very different module sizes and scan reliability.
Calculate the artwork from the grid outward. The symbol width for version v is 21 + 4 × (v − 1) modules. Add the required quiet zone of four blank modules on every side, making the complete width eight modules larger. Divide the intended physical width by that total to find the printed size of one module. This exposes why squeezing a dense payload into a small label is risky even when the overall square looks familiar.
Choose a starting size from distance and medium
For a business card or product label, begin with the available space after reserving the quiet zone, then shorten the payload if modules become too fine for the printer. For a poster or sign, scale for the farthest realistic scan position, not the designer's desktop preview. A commonly used planning heuristic is a code width near one-tenth of the scan distance, but treat that only as a starting estimate—not a requirement from ISO/IEC 18004 or a promised result.
Screens add their own variables: pixel density, brightness, glare, scaling, and the fact that the scanning phone cannot scan a code displayed on itself without another workflow. Avoid placing the code near a display edge or beneath an overlay. For email and web layouts, make sure responsive CSS does not crop the quiet zone or enlarge a low-resolution raster until its module edges blur.
Protect contrast and artwork integrity
Use dark modules on a light, solid background. Decorative gradients, transparency, low-contrast brand colors, inverted colors, and images behind the symbol all reduce margin for challenging cameras or lighting. The three large finder patterns are functional, so never crop, stretch, round off, or cover them. If adding a logo, use appropriate error correction and test the altered code; error correction is not permission to obscure arbitrary areas.
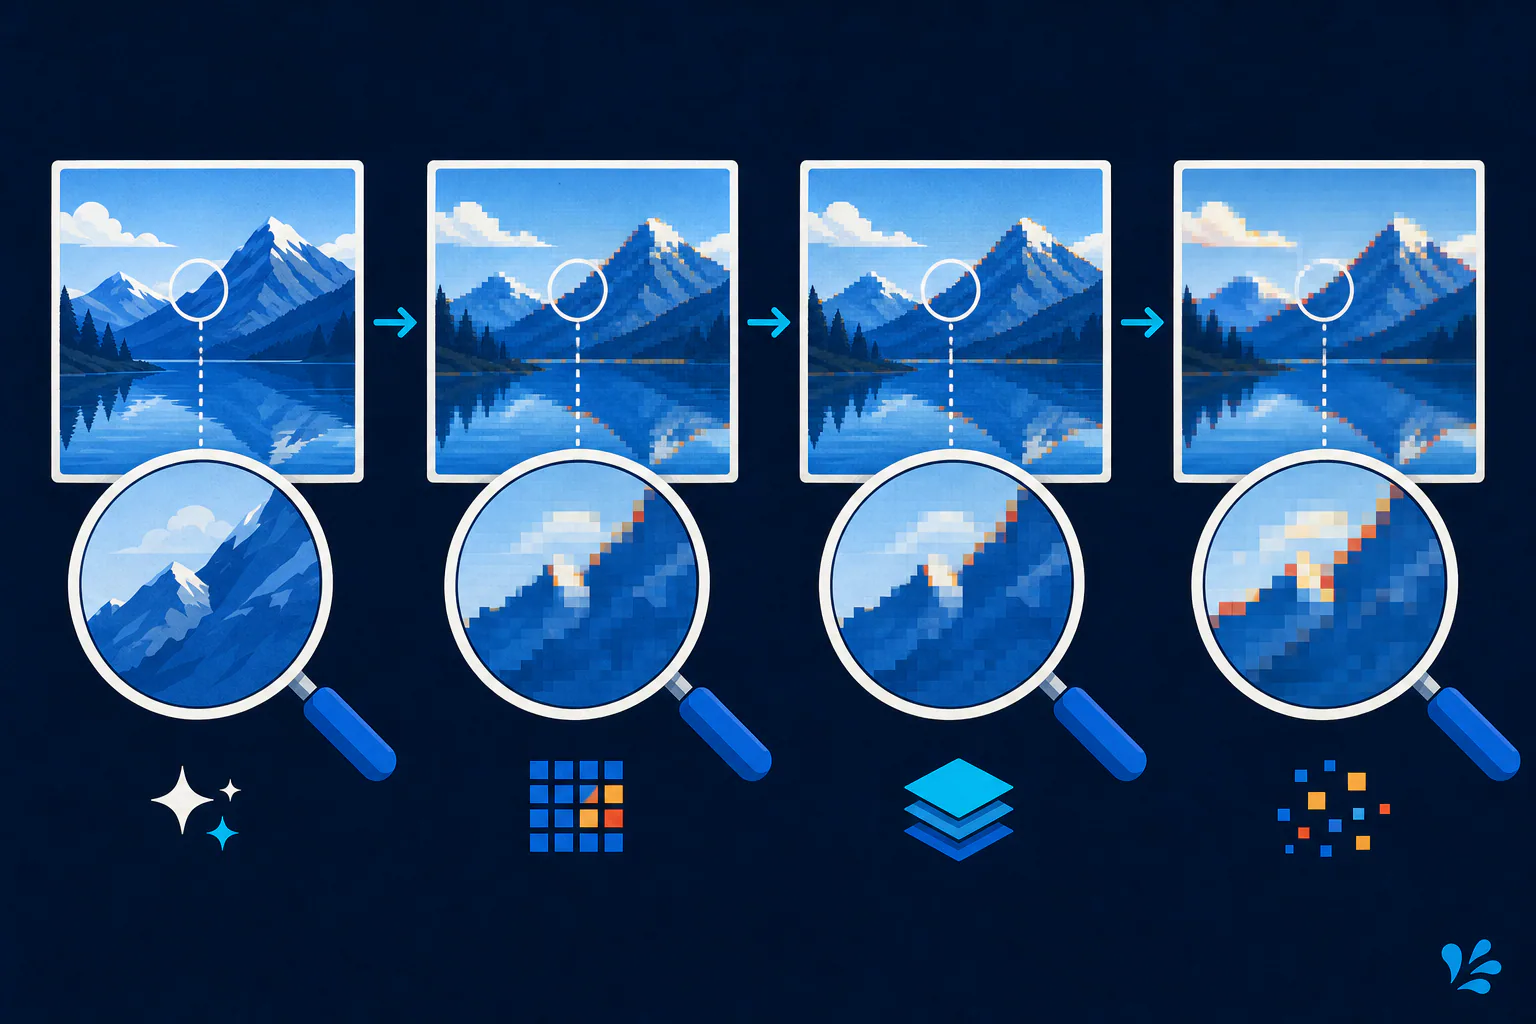
Prefer vector artwork for professional print when your generator offers it, because the edges remain crisp at different sizes. If you must use a raster file, export enough pixels for the final print resolution and scale by whole pixels where practical. Converting a small JPEG to PNG cannot restore crisp module boundaries that compression or resampling already damaged; the image-format quality guide explains why changing the container does not recreate lost detail.
Run a final-size proofing procedure
Print or display the code at its real production size. Test the exact payload from the intended distance using several current phones, including iPhone and Android devices, under bright, dim, and angled lighting. For packaging, test on a filled package and across seams, curves, gloss, foil, and laminate. This is a recommended validation procedure, not a claim that a particular size will pass every camera. If scans hesitate, simplify the payload, enlarge the modules, restore the quiet zone, or improve contrast before production.
Keep reading
Primary sources
- DENSO WAVE: Point for determining the code area
- DENSO WAVE: Information capacity and versions of the QR Code
- International Organization for Standardization: ISO/IEC 18004:2024 QR code symbology specification
Tool Swim is the organizational author and publisher of this guide. We cite primary specifications and platform documentation where they clarify behavior, and update the article when the guidance changes.